
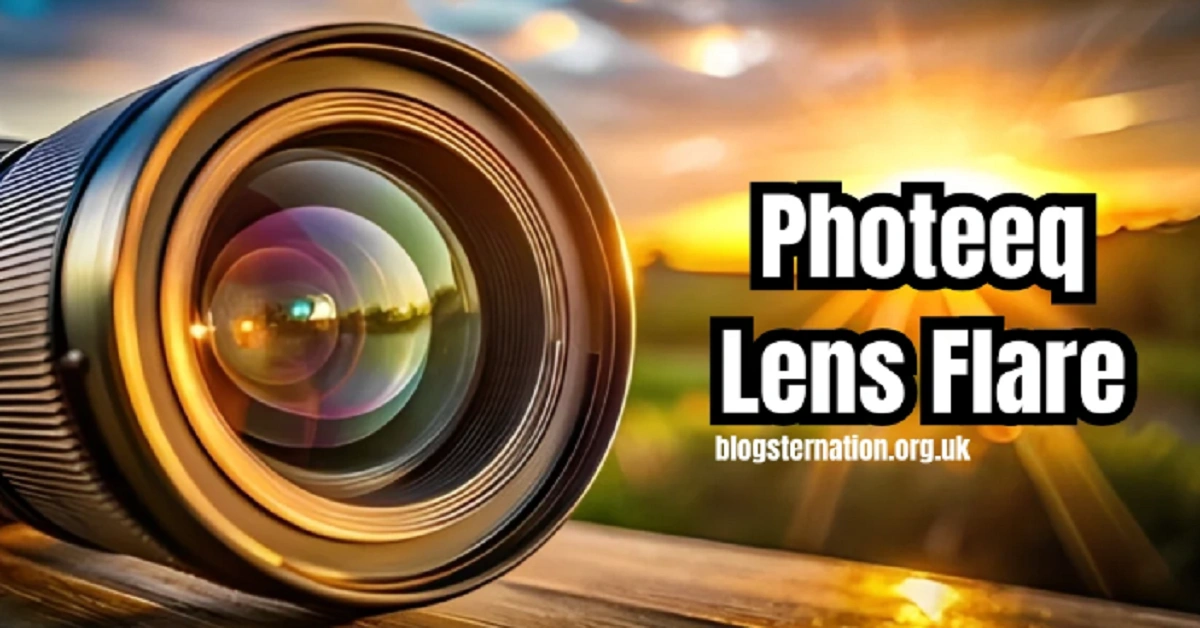
Introduction to Photeeq Lens Flare
Photography is not just about capturing a moment; it’s about painting that moment with light. And when it comes to playing with light, nothing is as powerful or artistic as lens flare. Among the many tools designed to help photographers master this effect, Photeeq Lens Flare stands out. Though no longer widely updated, it has made waves in the editing world for its ease of use and high-quality enhancements. In this article, we’re diving deep into everything you need to know about lens flares, photeeq lens flare, and how to create that iconic sun-kissed aesthetic in your shots.
What is Lens Flare in Photography?
Lens flare is a visual phenomenon that occurs when a strong light source—like the sun or studio lighting—hits a camera lens and reflects within it. This creates unique light artifacts or hazy, dreamy effects that can either add magic to a shot or ruin it, depending on how and when it’s used. Traditionally considered a flaw, modern photographers have reclaimed lens flare as a creative tool, intentionally incorporating it for dramatic, cinematic effects.
Overview of Photeeq and Its Role in Photo Editing
Photeeq was a third-party photo editing plugin that seamlessly integrated with Adobe Lightroom and Photoshop. While not as mainstream today, during its peak, it was loved by photographers for its clean interface, powerful editing presets, and of course—its lens flare tools. Photeeq made it easier for photographers to apply artificial lens flare effects without needing to create overlays from scratch or rely heavily on complex layering techniques.
Natural vs. Artificial Lens Flare
How Natural Lens Flare Occurs
Natural lens flare happens when direct light scatters inside the lens, hitting the sensor at unusual angles. This typically results in circular reflections, rainbow hues, or hazy blurs. It’s unpredictable, and that’s what makes it charming but challenging. You’ll usually spot it when shooting against the sun or any intense backlighting.
Why Photographers Use Artificial Lens Flare
Recreating lens flare artificially gives photographers full control over the intensity, placement, and style. Tools like photeeq lens flare allow users to add these effects in post-production, which is incredibly useful when the natural light wasn’t ideal during the shoot. Whether you’re trying to fake golden hour or dramatize a night cityscape, artificial lens flare gives you the freedom to be creative on your own terms.
The Science Behind Lens Flares
Light Refraction and Internal Reflection
At its core, lens flare is all about physics. Light refracts when it hits a camera lens, bouncing between the lens elements and the sensor. When not controlled, this creates flare artifacts. Understanding this mechanism helps photographers know how to use or avoid flare depending on the effect they want.
Photeeq Plugin and Software Tools
What is Photeeq?
Photeeq was a free plugin for Lightroom and Photoshop designed to make photo editing more intuitive and powerful. It offered a wide range of preset filters, enhancements, and lens flare options. While it’s no longer officially supported or updated, many users still find older versions useful, especially for its flare features.
Features of Photeeq Lens Flare Tools
Ease of Use
One of photeeq lens flare most praised qualities was its user-friendly interface. You didn’t need to be a Photoshop expert to use it. Even beginners could open the plugin, select a lens flare, adjust a few sliders, and get a professional result.
Customization Options
You could tweak everything—from the size and angle of the flare to its color temperature and opacity. This level of control meant you could blend flares naturally into your image or go bold and artistic.
Compatibility with Adobe Lightroom and Photoshop
Photeeq worked well with popular Adobe tools, which made it an accessible option for most photographers who were already using Lightroom or Photoshop in their workflow.
Using Photeeq for Artistic Effects
Enhancing Sunlight and Outdoor Scenes
A bit of lens flare can turn a dull outdoor photo into something that feels like a moment from a romantic movie. Whether you’re capturing sunbeams through trees or sunset silhouettes, Photeeq helped enhance those shots with just the right touch of golden light.
Creating Dreamy or Cinematic Looks
Soft, glowy lens flares add a dreamlike quality that’s perfect for portraits, weddings, or lifestyle photography. Many users loved using Photeeq for this very reason—it let them fake those movie-like lighting effects effortlessly.
Adjusting Flare Opacity and Color Balance
One of the best things about photeeq lens flare was its fine-tuning controls. You could tone down the flare to make it subtle or crank it up for high drama. You could even match the flare’s color to your image’s temperature to ensure a cohesive look.
Step-by-Step Guide to Adding Lens Flare with Photeeq
Installing the Plugin
Though Photeeq isn’t actively supported, archived versions can still be found online. Once downloaded, installation is as simple as dragging it into the plugins folder for Photoshop or Lightroom.
Importing Images for Editing
Start by opening your desired image in Lightroom or Photoshop. Launch the Photeeq plugin from the filters or effects menu.
Applying and Adjusting Lens Flare
Select the lens flare effect you like from the plugin panel. Use sliders to reposition the flare, change its brightness, hue, and transparency until you’re happy with the look.
Saving and Exporting Edited Images
Once your lens flare looks perfect, save your image or export it in your desired resolution and format. Always save a backup of the original in case you want to make changes later.
Best Practices for Lens Flare in Photography
When to Use Lens Flare
Use lens flare to highlight emotion, enhance sunlight, or add a retro vibe. It’s perfect for backlit portraits, street scenes, or dramatic landscapes.
When to Avoid It
Lens flare can overpower a subject if not used carefully. Avoid it in product photography or technical shots where clarity and detail are more important than artistic mood.
Tips to Maintain Image Quality
Always check the sharpness and contrast of your image after applying lens flare. Keep the effect subtle unless you’re going for a bold look.
Comparisons with Other Lens Flare Tools
Photeeq vs. Nik Collection
While Nik Collection offers more tools overall, photeeq lens flare was quicker and more focused on artistic edits like lens flare.
Photeeq vs. ON1 Effects
ON1 is more modern and still supported, but Photeeq’s simplicity and presets made it a cult favorite.
Unique Features That Make Photeeq Stand Out
The intuitive controls and artistic presets were what set Photeeq apart. It wasn’t bloated with features—it did a few things really well.
Pros and Cons of Photeeq Lens Flare
Advantages of Using Photeeq
-
Easy to use
-
High customization
-
Seamless Lightroom/Photoshop integration
-
Great for beginners and pros alike
Potential Limitations and Workarounds
-
No longer updated
-
Compatibility issues with newer systems
-
Limited support documentation
User Reviews and Community Insights
Testimonials from Professional Photographers
“I used Photeeq on nearly every wedding shoot for that dreamy sunlight flare,” says Amanda Lee, a wedding photographer based in California.
Feedback from Hobbyists and Instagram Creators
“I loved how quickly I could add flare without having to manually mask layers,” says @snapshotsbyken, a travel Instagrammer.
Future of Photeeq and Lens Flare Editing
Though Photeeq is fading, the demand for lens flare effects is growing. New tools and plugins continue to emerge, but Photeeq’s simplicity and style still inspire many.
Conclusion
Photeeq Lens Flare brought a unique charm to photo editing. Even though it’s not actively supported anymore, its legacy continues in the photos that sparkle with beautifully placed light artifacts. Whether you’re a professional looking to evoke emotion or a hobbyist experimenting with light, Photeeq was and remains a shining tool in the editing toolkit.